This is the third part of the series on Ziki’s Party Planning Edition. I also wrote about how we made invitations and how we chose our venue. I shall share with you how we pulled off a simple and enjoyable book party for our little man who just turned one. I will give you tips and recommendations that may also help you coordinate your child’s birthday party.
Ziki’s first birthday was quite an experience for me. For one, the sleeping “party organizer” in me awakened and we were able to pull off all the party ideas we had. Secondly, my love for DIY and crafts only multiplied and now I have several projects up my sleeve. Finally, I felt my mommy-meter go up a notch for actually DIY-ing details of the party.
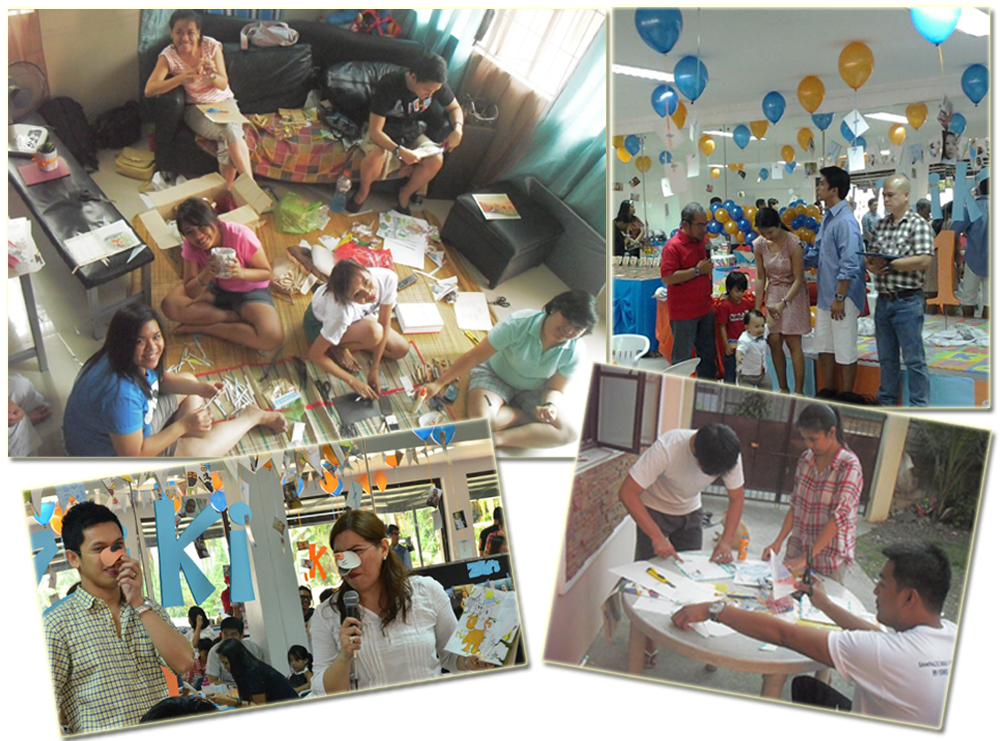
Here we are at work (first & last photo). Thank God for good friends who helped us DIY. :)
It feels so good to finally see all those ideas materialize. If you follow me on twitter, you would see how anxious I was at how it will all turn out. But thank God they turned out fine. Let me share with you the party details we DIY-ed for our beloved son’s first birthday.
1. Party favors / Thank-You souvenirs
This was for the grown-ups. I originally wanted to make felt cloth bookmarks to be uniform with the theme, but when husband said it would be too tedious, I went with the clothespin magnet instead. Found a tutorial in pinterest but instead of using fabric for the design, I used cute washi tapes that I purchased from Hey Kessy.
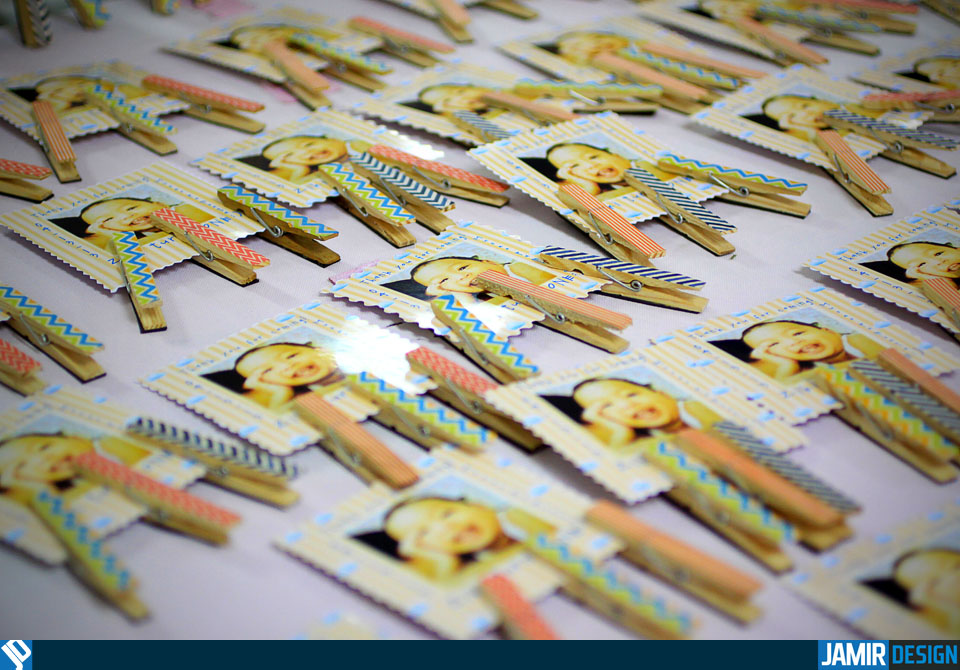 This was easy to make: Just stick the washi tape on one side of the wooden clothespin, cut the magnetic sheet to fit the other side of the clothespin and secure it with wooden glue.
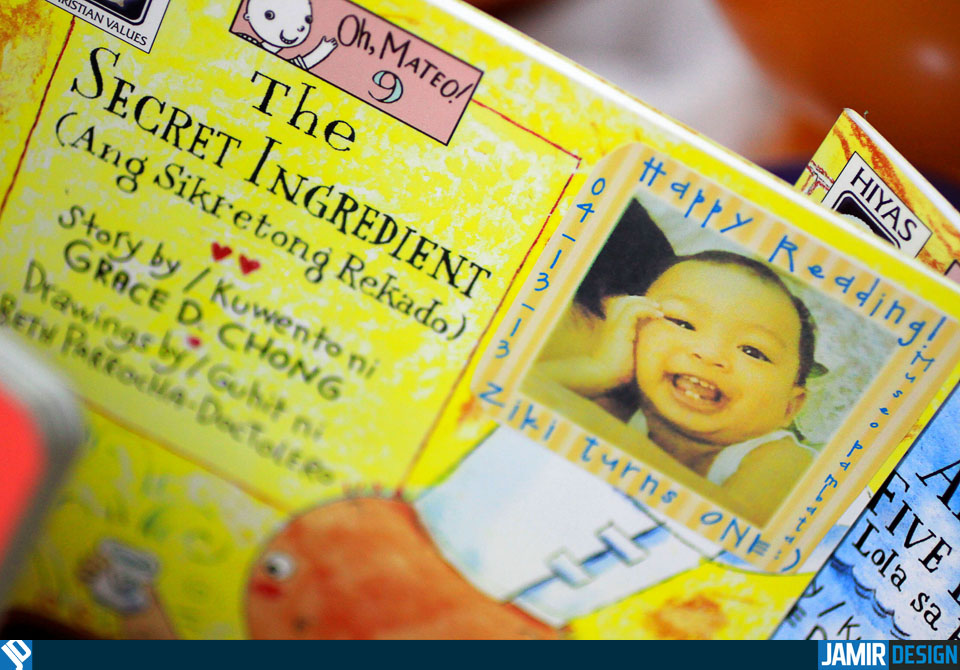
For the kids’ party souvenir, we lovingly picked out books from Philippines Bible Society Bookstore and Booksale and slapped a cute message from Ziki. We wanted our little guests to get into the habit of reading and love books too. :)
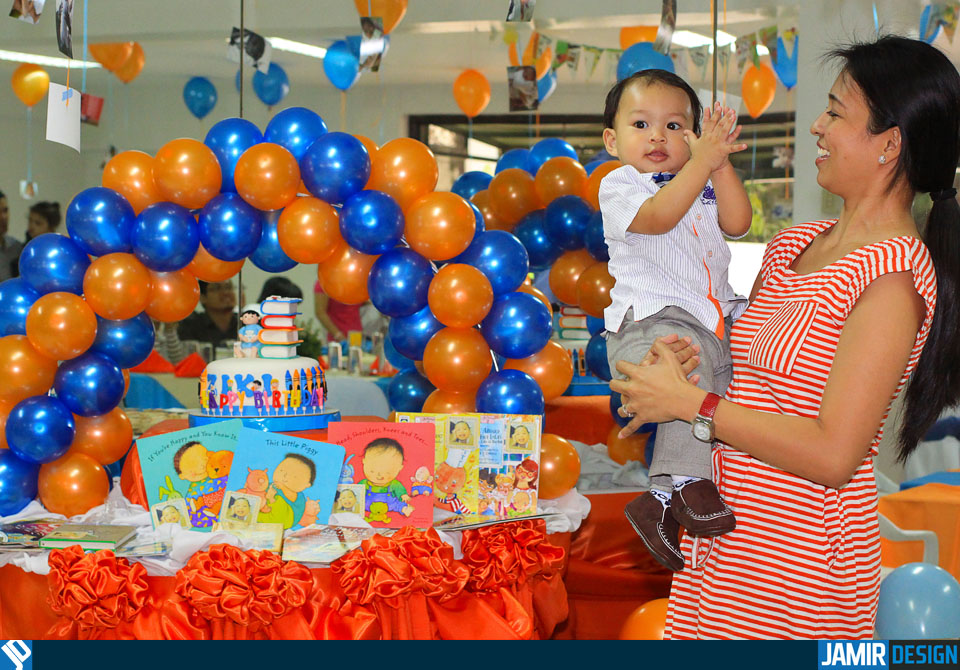 See the books by the birthday cake?
2. Table centerpiece
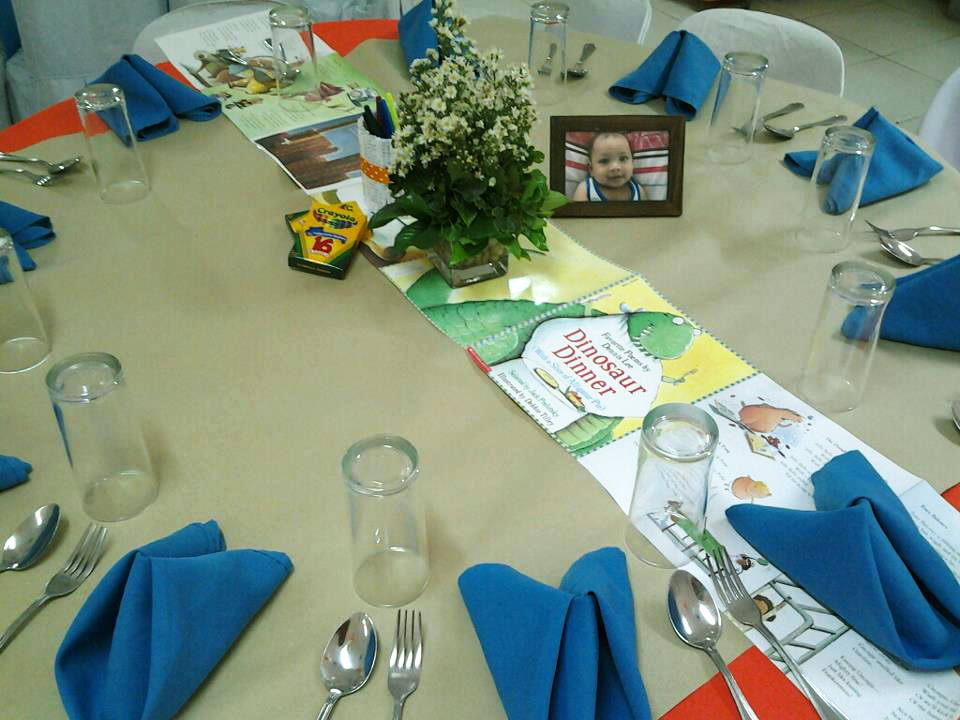
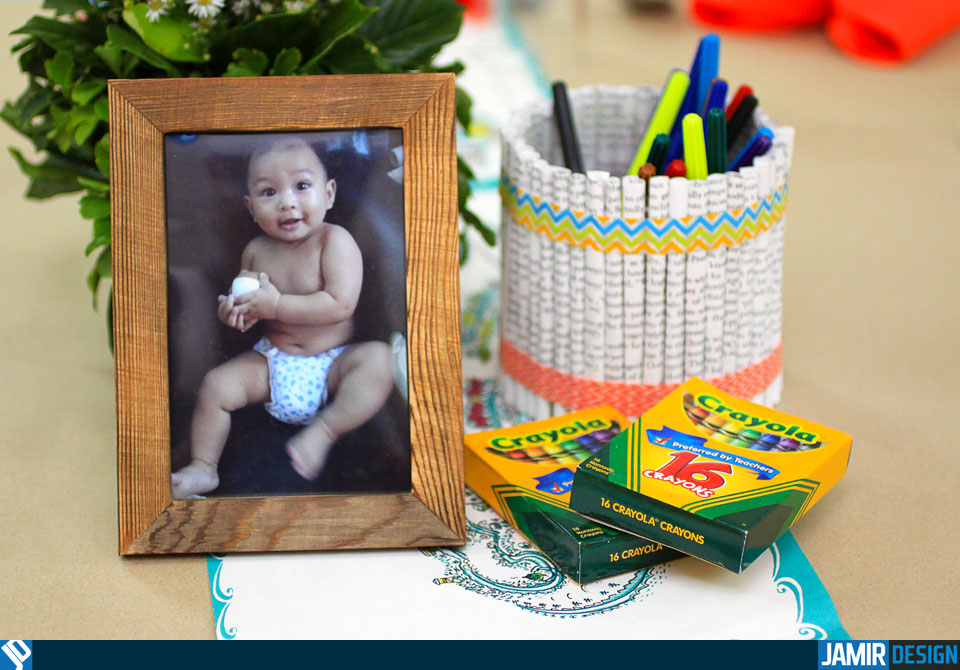
We asked the caterer to set up the table with mantels according to the color motif and with the flower centerpiece that was included in their package. Then we placed a sheet of kraft paper on top for the guests to doodle on. We used up-cycled soda bottles and rolled up book pages to put the colored markers in and also made a table runner out of old book pages from colorful storybooks. And then we added cute snapshots of the birthday boy in wooden frames and boxes of crayons to tie it all up. Here’s how it looked:
3. Ceiling decors
I saw this concept—yes, again, on pinterest—where the room was filled with colorful balloons with pictures of the celebrator suspended from the string and I wanted to do it also. Since the venue’s ceiling was not so high, it would be perfect! We also made buntings that we set up on the ceiling beams and on the mirror. Our dear friend and Ziki’s ninang (Hi Leyya!) helped blow up the balloons and stick them on {yes, they are taped on the ceiling because helium balloons are not safe for children}. She also made the balloon arch on Ziki’s cake table.
 The only difficult thing here is choosing the cutest photos of Ziki out of the hundreds we have.
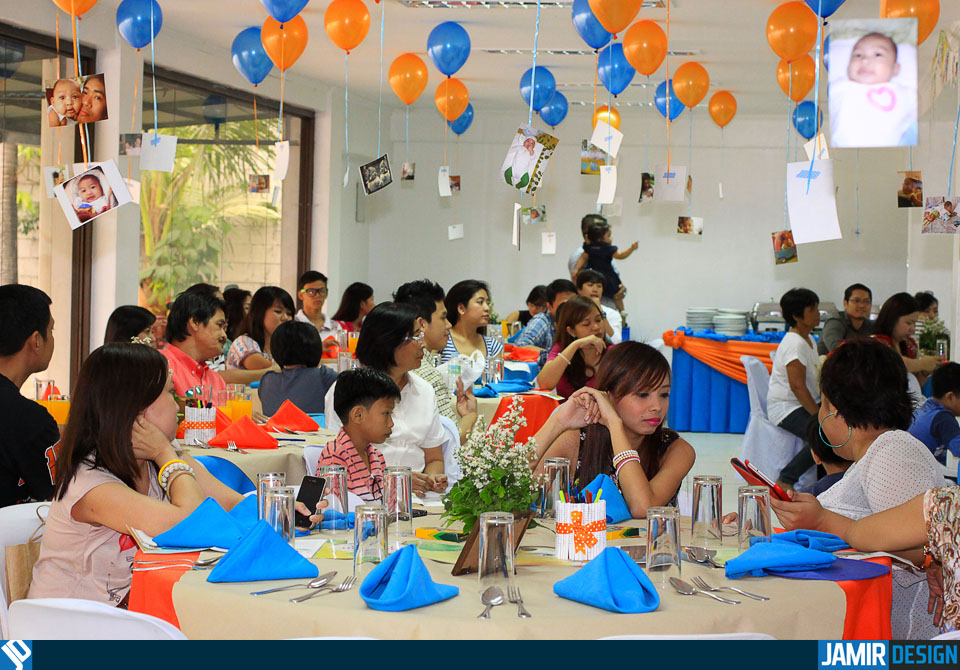 Guests had fun going around the room looking at the photos. And though we did not intend it at first, we gave them away as souvenirs too. Much to their delight. :)
4. Guestbook corner
My husband and I worked on Ziki’s timeline—photos of Ziki from his first month to his 11th month—and set it up on a table with pages of alphabet letters, hand-written by hubby, for his guestbook table. I originally wanted to put the milk bottles on it, but with much contemplation {kids, milk bottles and paper in one corner…uh oh, accident waiting to happen}, it was set up with the candy buffet instead. Besides, the milk bottles would feel at home at the candy buffet table with all their sweet buddies. :)
 Aaaw, look at him grow. *sniff*
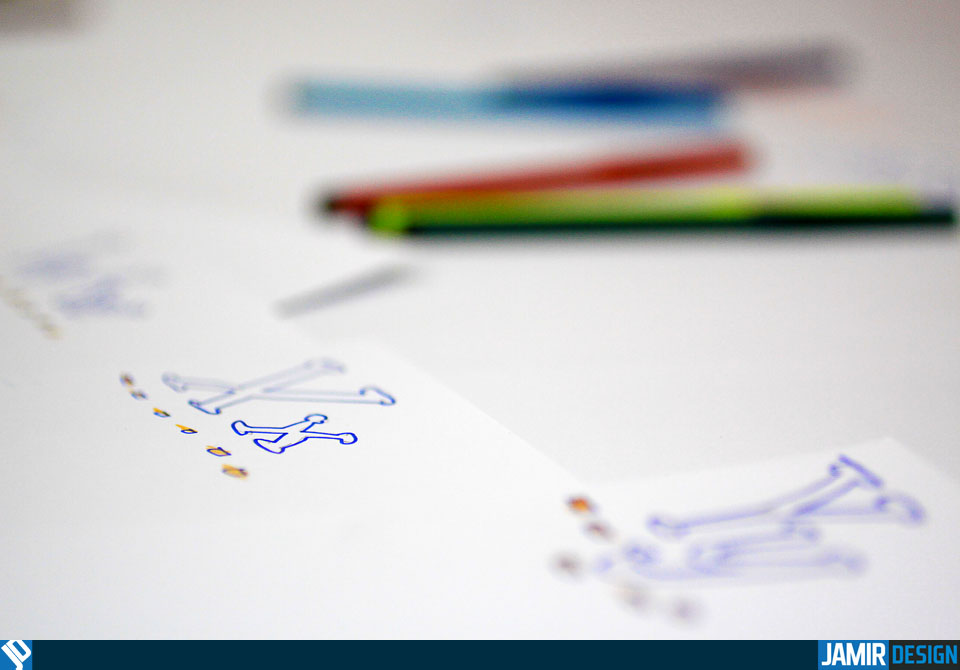
We distributed the pages to guests and asked them to draw an object pertaining to the letter they were given, with their personal message for Ziki. We will have these bound and it will be Ziki’s Alphabet Book. :)
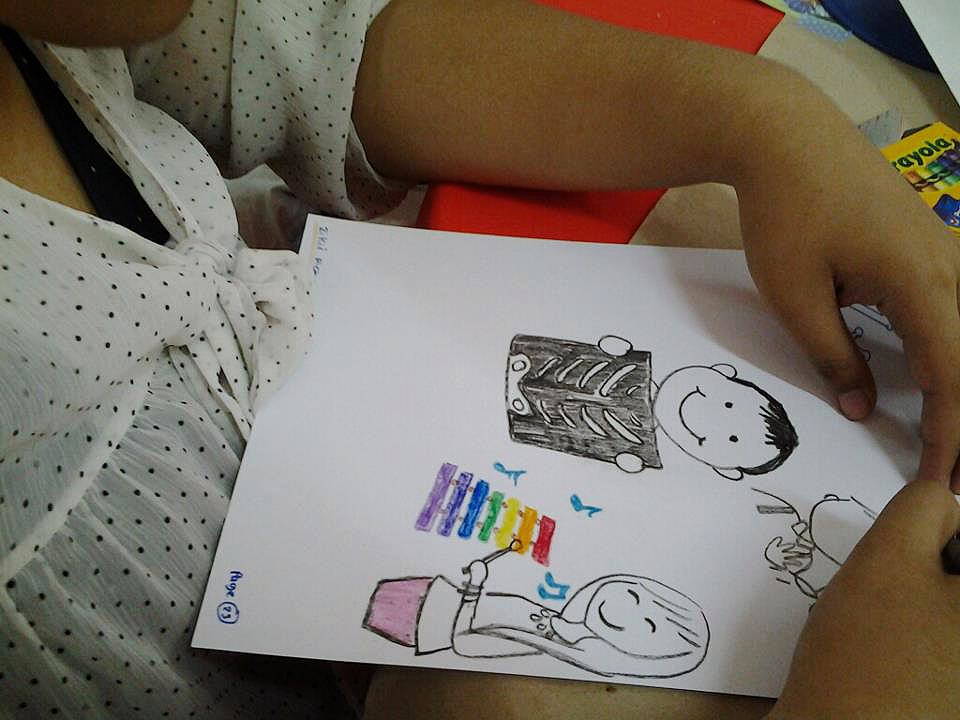 She was given a very tough letter. But her favorite, nonetheless. We love this letter, Xai!!!
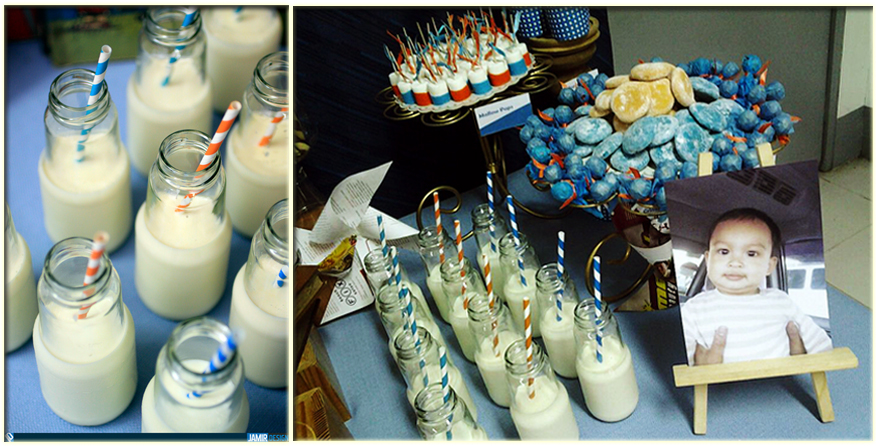 Bought the bottles from a supplier in Valenzuela and ordered the paper straws from Bee Happy {as far as paper straws are concerned, I think they have more color options and with cheaper prices too}. The milk was bought from our favorite local grocery store.
I really had a great time doing these projects and we’re very happy with the results. Thank God for pinterest, friends and a supportive husband, these DIY party elements made Ziki’s party happier and more colorful. And I definitely will be doing it again. :D
So if you’re planning and preparing for your baby’s birthday, I encourage you to try the DIY route. It will certainly make your creative juices flowing and will help you save a lot—these and much more. Happy DIY-ing! :D
Meemai I love love looove your new theme. Like it was custom designed for you. <3 Good choice!
Eeeh, thanks hihi! :) Took me long to choose one at inaral ko pano mag tweak tweak ganyan. :D